Blog Article
Automate Release Notes With ChatGPT

Jens Schumacher
Sep 13, 2023
•
6
minutes read
Guides
In this guide we will show you how to turn the tedious task of drafting release notes into an exciting creative experience.
In just a few simple steps, ChatGPT can help you generate custom release notes tailored to your product and audience. You provide some high-level details about your latest release, and before you know it, you'll have crafted memorable release notes your users will be excited to read. Get ready to wow your users with release notes they'll love.
A Step-By-Step Guide To Crafting Release Notes With AI
For this guide we will be using Released, which uses the ChatGPT API. It integrates deeply with Jira and makes getting information about what tasks have been completed a breeze. However, the steps described below are still relevant if you choose to use ChatGPT on it's own.
You'll need a Jira instance with the Released app installed for this walkthrough. If you don't have released installed yet, you can get it on the Atlassian Marketplace.
1. Setting up custom prompts
To get started, you'll first need to establish some ground rules. Released creates great results without any customization, but it does allow you to modify the prompt to create your own, personalized style.
To do so, open the settings in via the "⋯" menu in the top right of the Released app and select the Artificial Intelligence section.
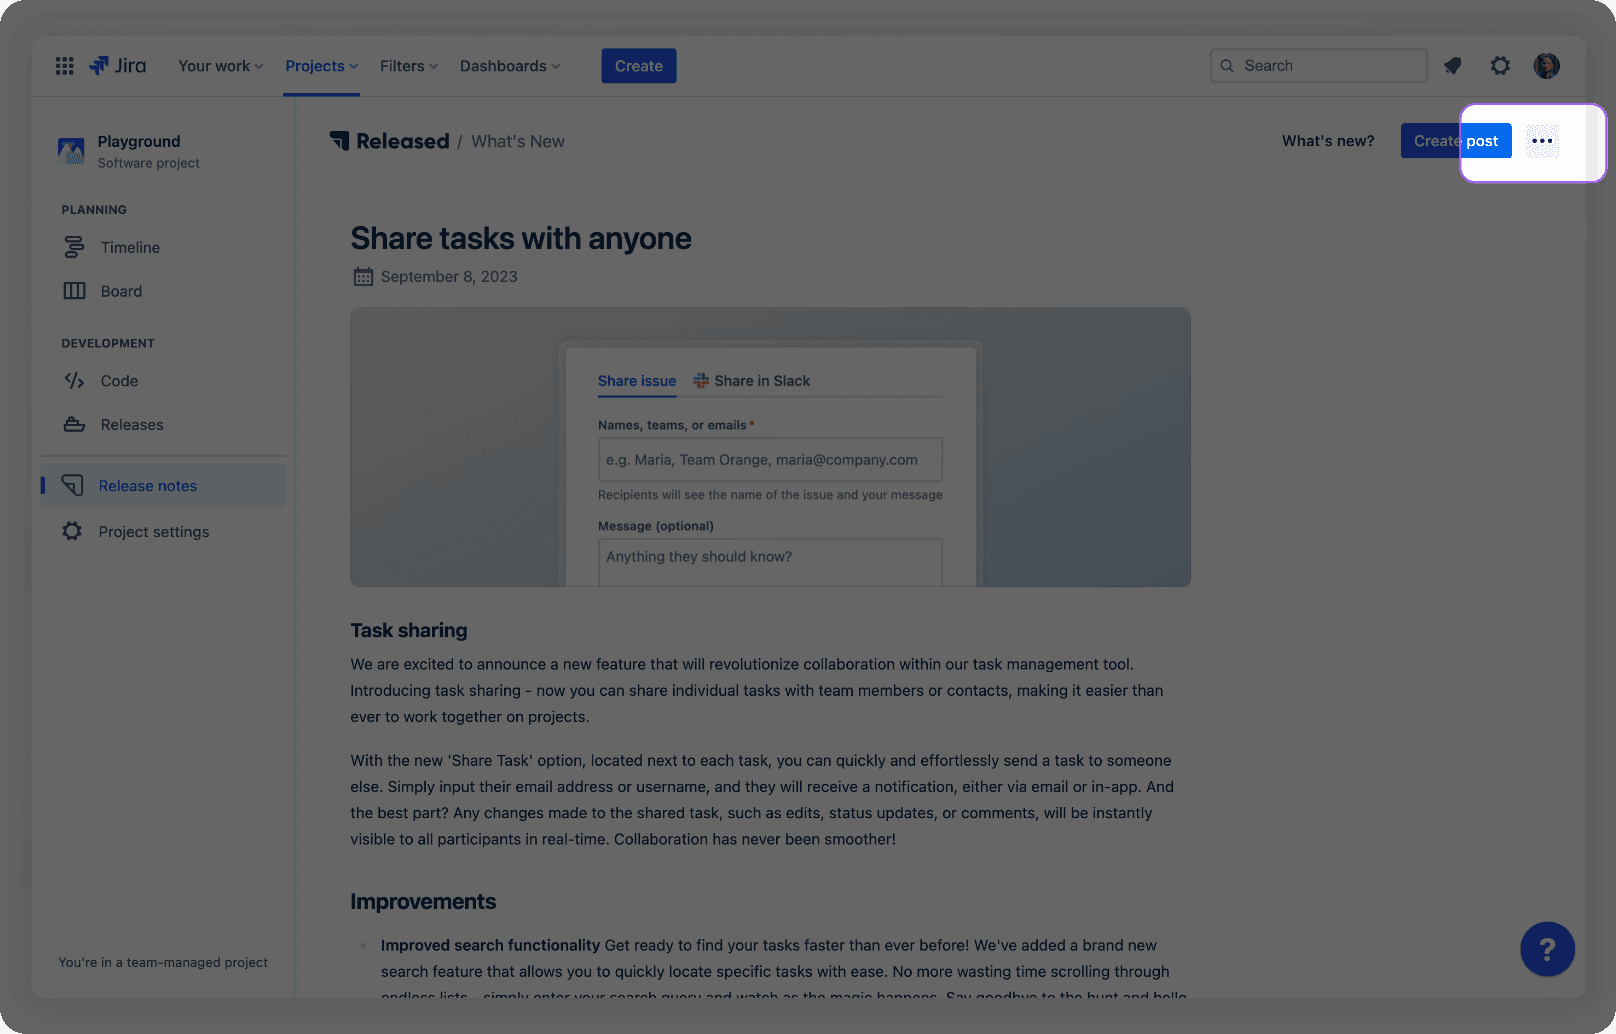
Customise the base prompt with the following instructions as an example. The exact instructions might differ based on the voice of your brand.
"Use the following style guidelines:
Precision and Clarity: Use accurate, direct, and clear language.
Formality and Objectivity: Maintain a formal and objective tone.
Second Person Perspective: Address readers directly using "you".
Plain Language: Use clear, concise sentences. Prioritize simplicity over complexity."
With the above prompt, we have created a global style guide for the output we are looking for.
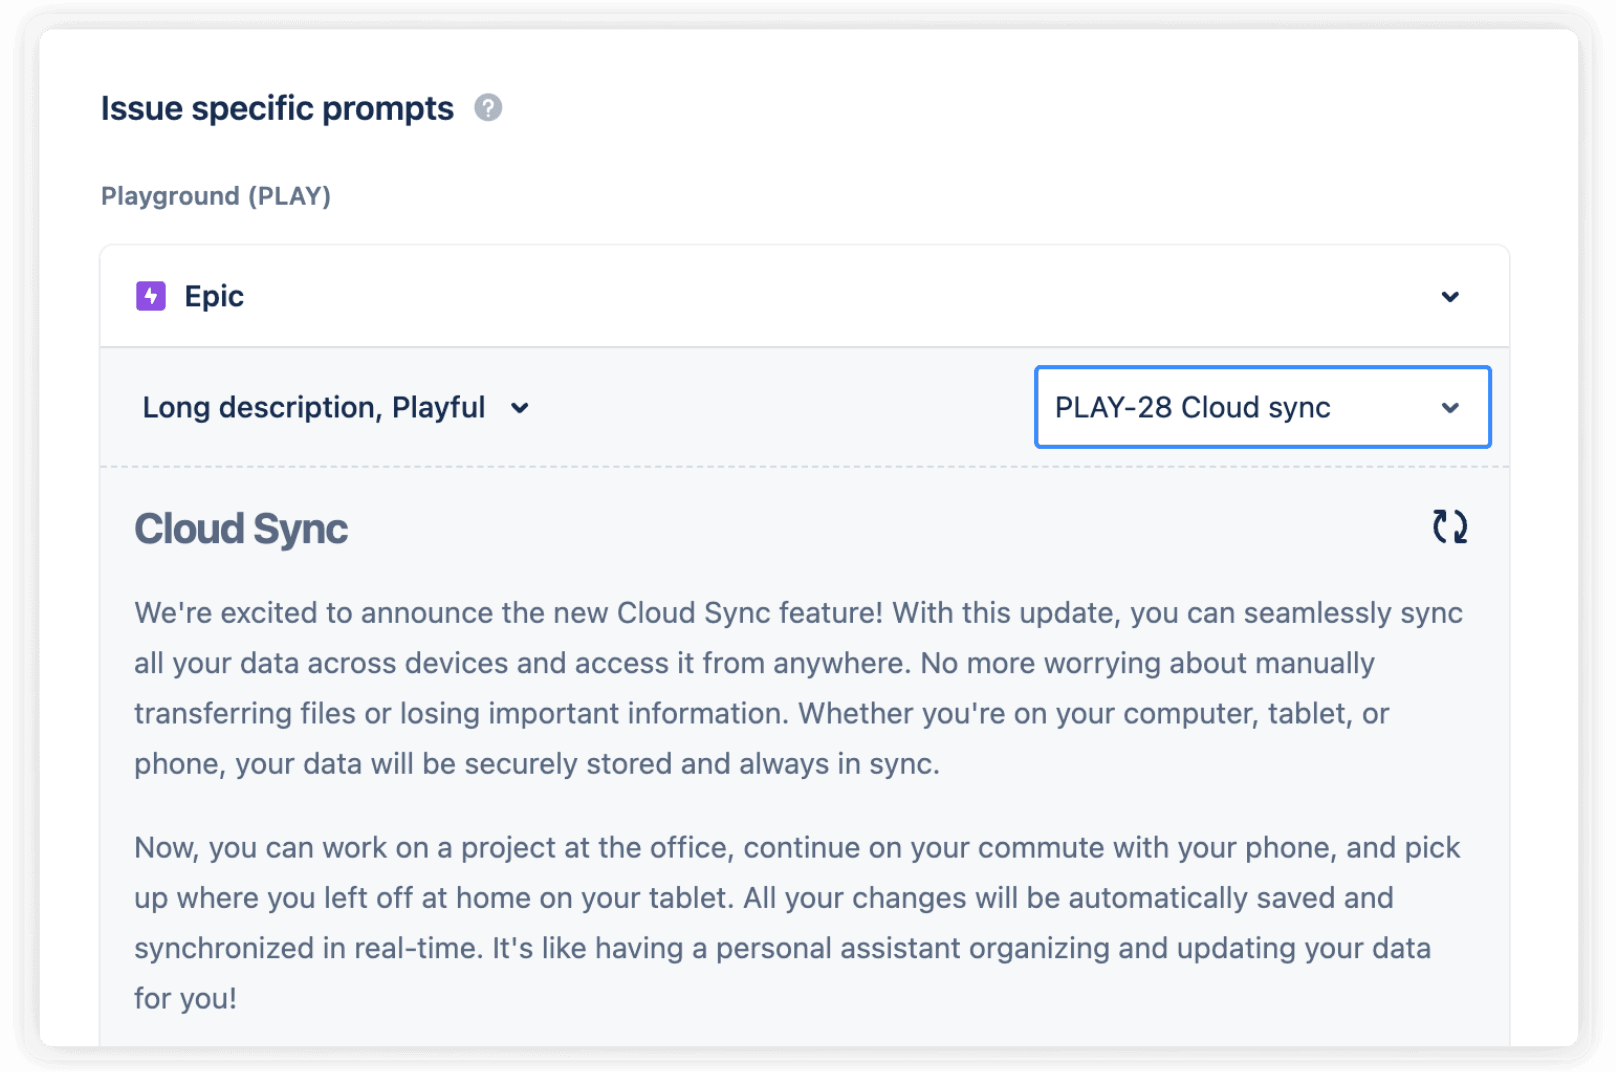
Add issue specific prompts
For distinct issue types like Epics or Security issues, you might seek a unique style.
Within Released, you have the flexibility to select an issue type and opt for one of the preset styles. If these don't meet your needs, you can also input a custom prompt with detailed instructions. For instance, if your tickets frequently include links to internal Figma designs, you can guide the AI copywriter to bypass those links."
2. Compile the list of changes
Typically at this step you need to work with the engineering team to work out what has been released.
Instead of slogging through endless meetings, there's a simpler way. Engineers and product managers can tag key issues for the release notes as they come up, using labels, categories, or specific issue types. By identifying what users need to know ahead of time, the process of drafting release notes becomes a breeze.
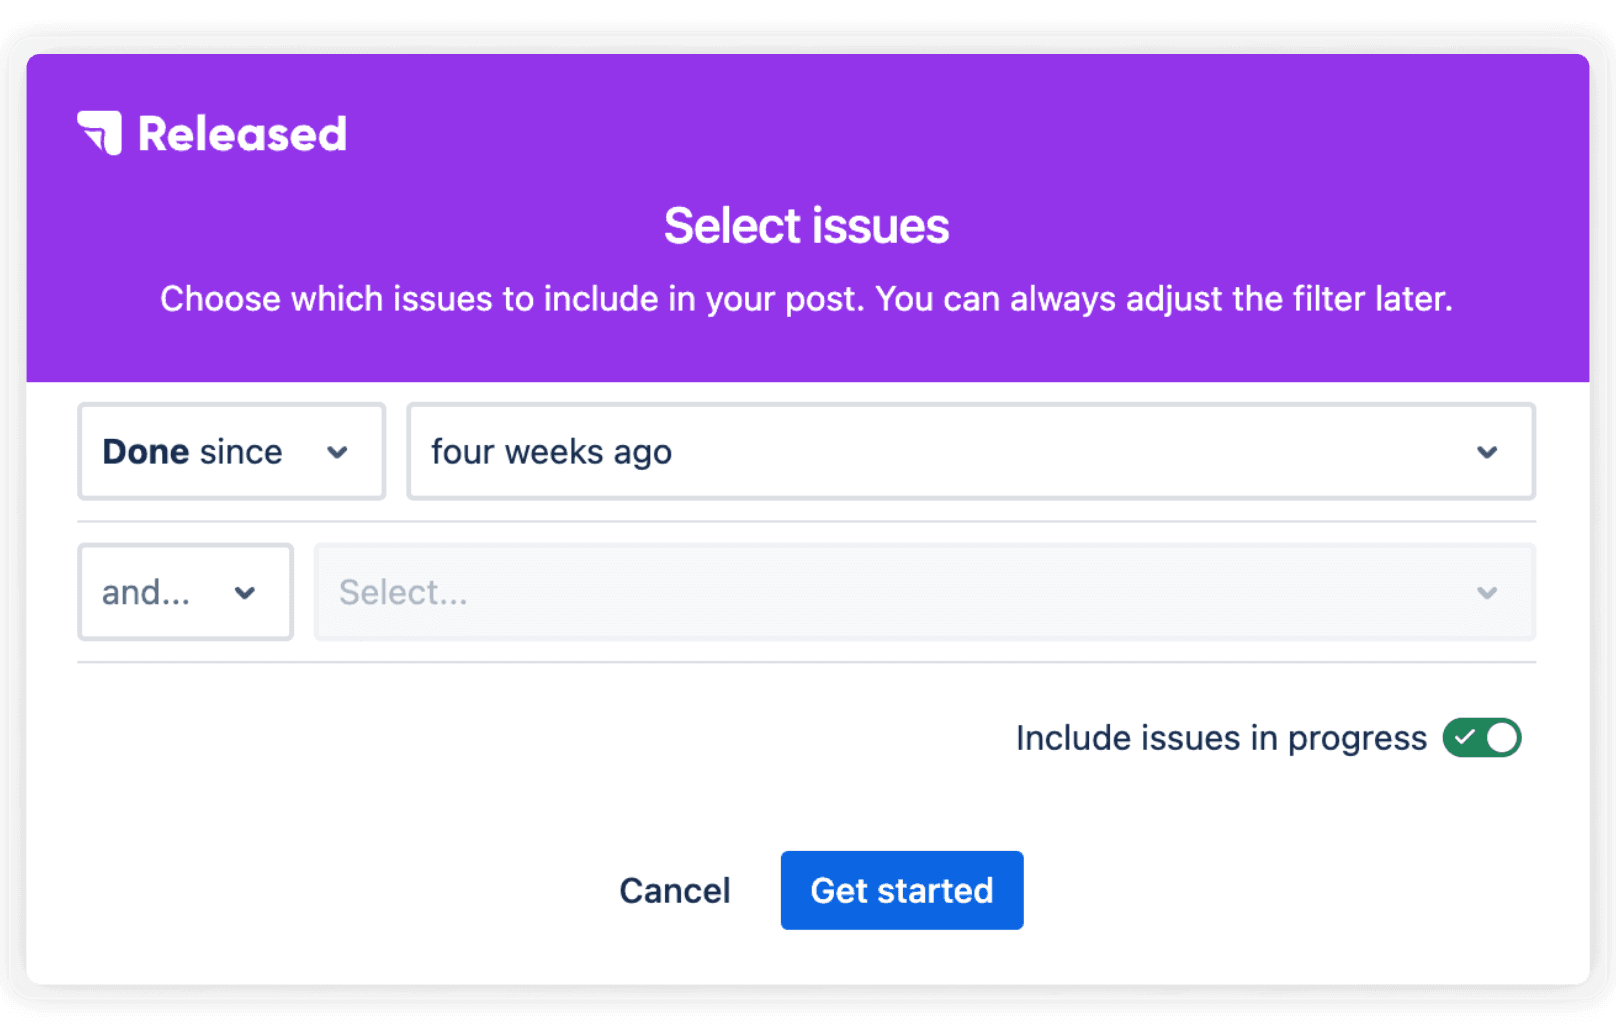
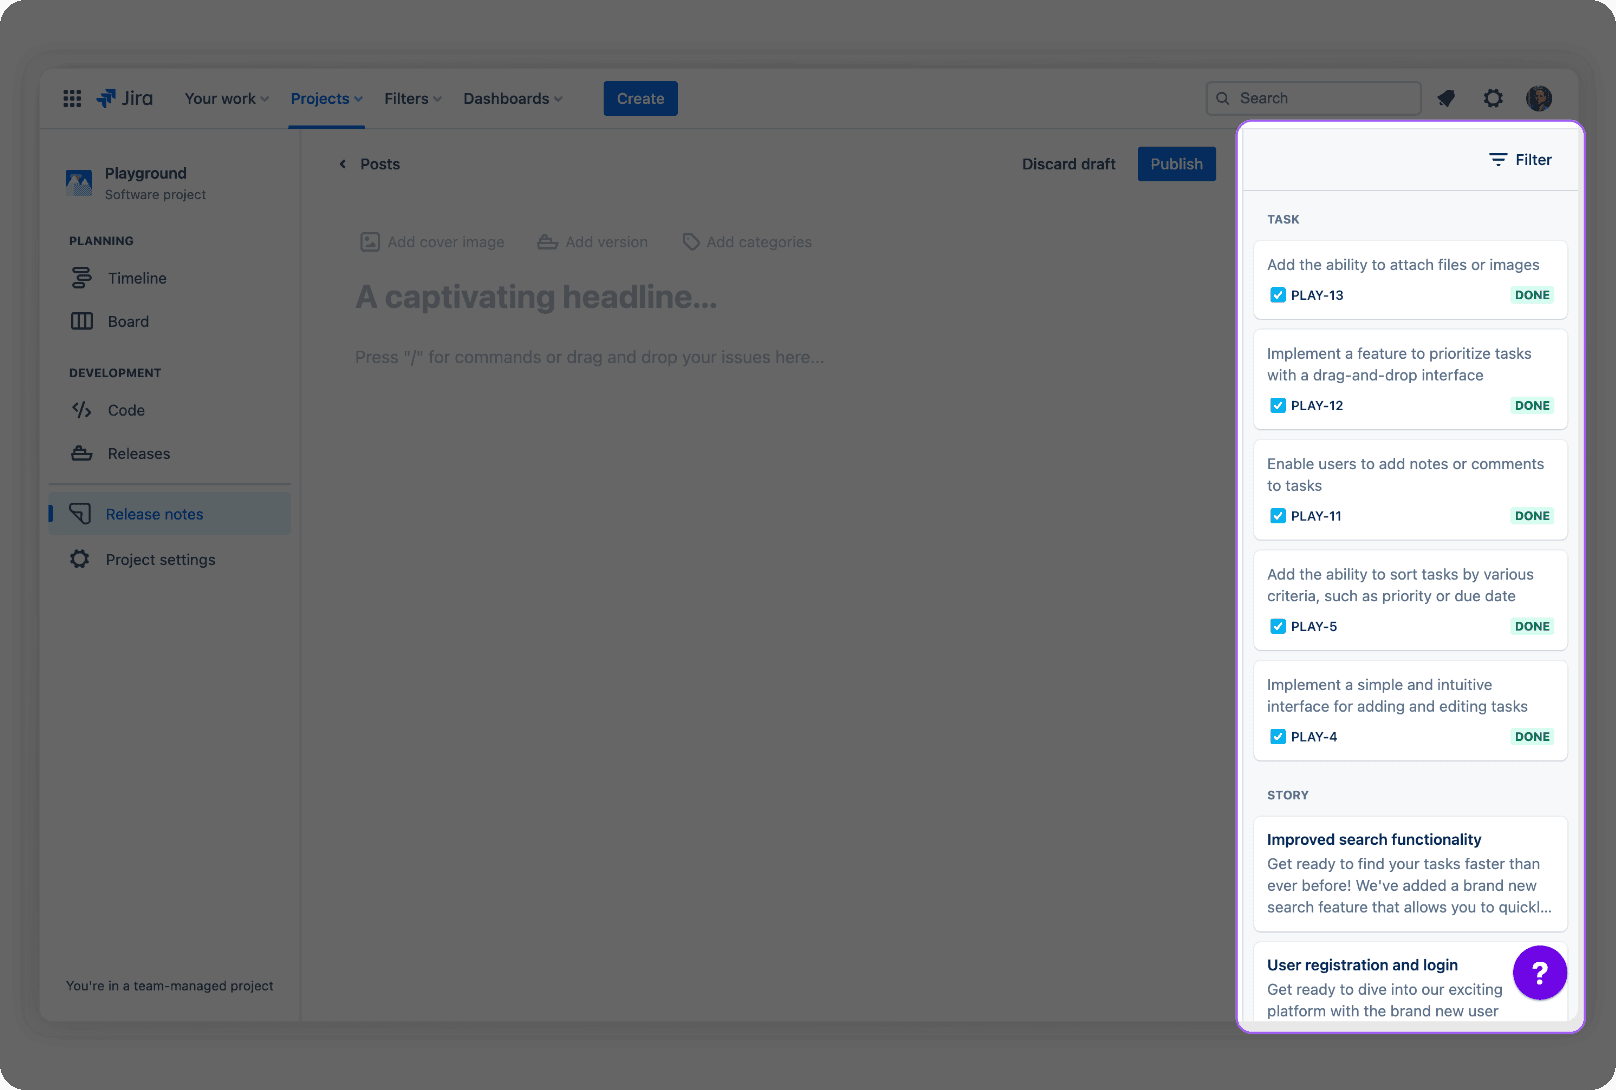
Get started with compiling the list of changes by clicking the "Create Post" button. Then, use a set of filters to select the issues you want to feature in your post. When done, click "Get started" .
The filtered issues now appear in the sidebar. Allowing you to do a last check to see which ones you want to include in your release notes.
2. Drafting Dynamite Release Notes
Now that you have your issues ready, it’s time to put ChatGPT to work. Let the AI take a first pass at drafting your release notes.
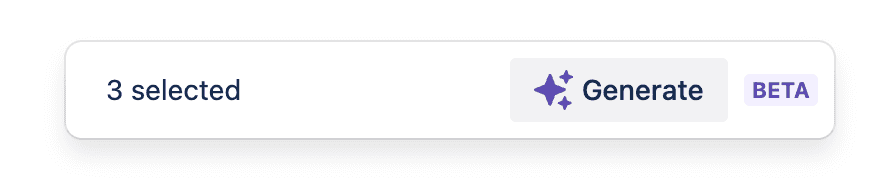
Select the issues you want to add to your release notes and click the "Generate" button. Once the description is generated, drag & drop the cards into the editor.
Review what it produced. Look for any inaccuracies or areas that need improvement. Compare the AI’s draft to your original details to ensure all key points and technical specifics are included clearly and accurately.
Don’t be afraid to make edits and tweak the content. You know your product and audience best. Revise sentences or add examples where needed to help users understand new or changed functionalities. Use your judgment to determine if ChatGPT’s draft is too verbose or leaves out important details.
3. Putting on the Finishing Touches
Once you have ChatGPT generate your initial release notes, it’s time to put on the finishing touches. Give the AI’s work a close read to catch any “unintended transformations” that could confuse your users.
Trim out excess words and tighten up sentences for clarity. Double check that all facts are correct and nothing important was left out. You know your product best, so make sure the key points shine through!
Once you’re satisfied, you’ll have dynamite release notes ready to publish and share with your customers and clients. Release notes are an important part of any software update, so taking the time to perfect them will lead to happier, better-informed users.
Add your brand flair
Inject some personality into the release notes. Use active verbs and conversational language to bring them to life. Reference your style guide to maintain consistency with other communications.
Start sentences with “You can now...” or “This update lets you...”
Use exclamation points sparingly to show excitement for big new features.
Include relevant gifs, images or emoji to visually engage readers.
Get feedback
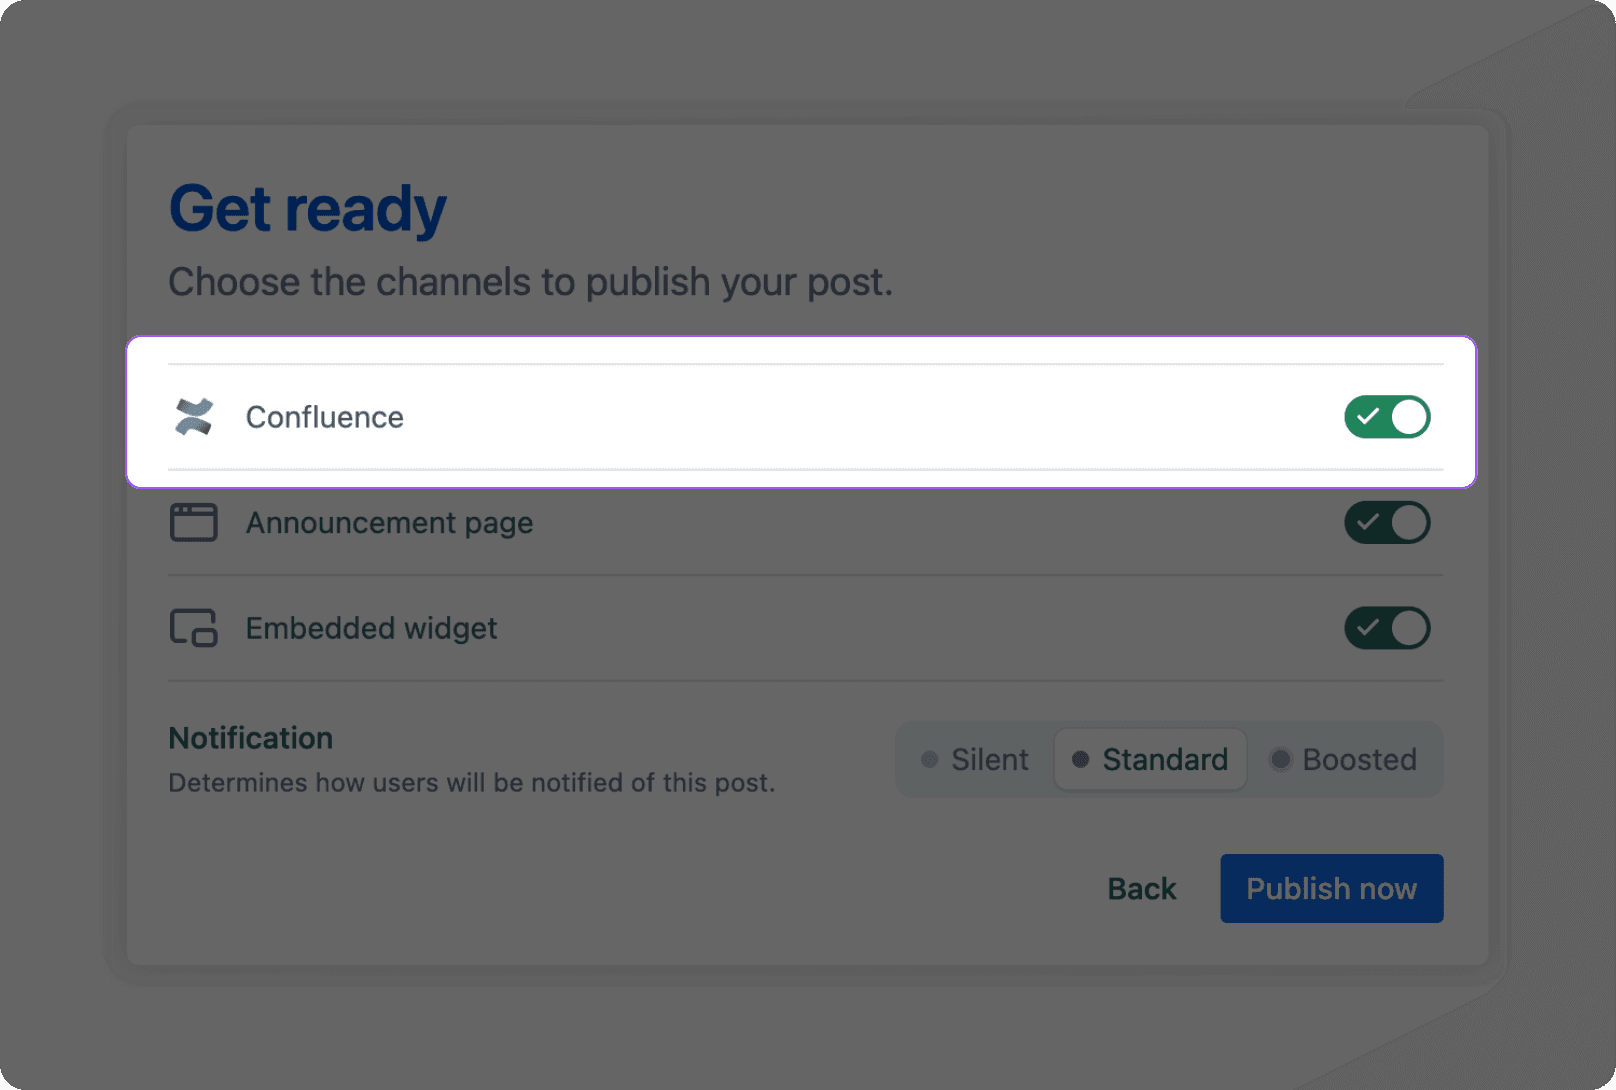
A second pair of eyes on your release notes can make all the difference. For seamless internal feedback, consider publishing your notes to Confluence. It's a great space to team up, gather insights, and fine-tune your message before sharing it with your users.
Releasing software updates is an opportunity to delight your users. By crafting clear, compelling release notes with ChatGPT and putting in the finishing touches, you’ll spread the excitement for all the hard work your team has accomplished! Your users will appreciate the care and time you put into communicating with them.
Conclusion
So there you have it, a few tips and tricks to get you started using ChatGPT to draft fun and engaging release notes. Once you get the hang of it, you'll be pumping out magical release notes in no time and building serious hype for your product updates. Your users are going to love you for it.
Subscribe to our newsletter
Get the top articles of the month, delivered to your inbox.


